Utah Aquaponics System Construction and Early Startup
Attached are a few photos of our Utah Aquaponic System in construction and in early production. Detailed aquaponic system design information and plant and fish selection decisions can be found in our thread at AquaponicsHQ here: http://aquaponicsnation.com/forums/topic/802-utah-system-part-1-beginnings/
Aquaponic system under construction: (In mid-February 2009):
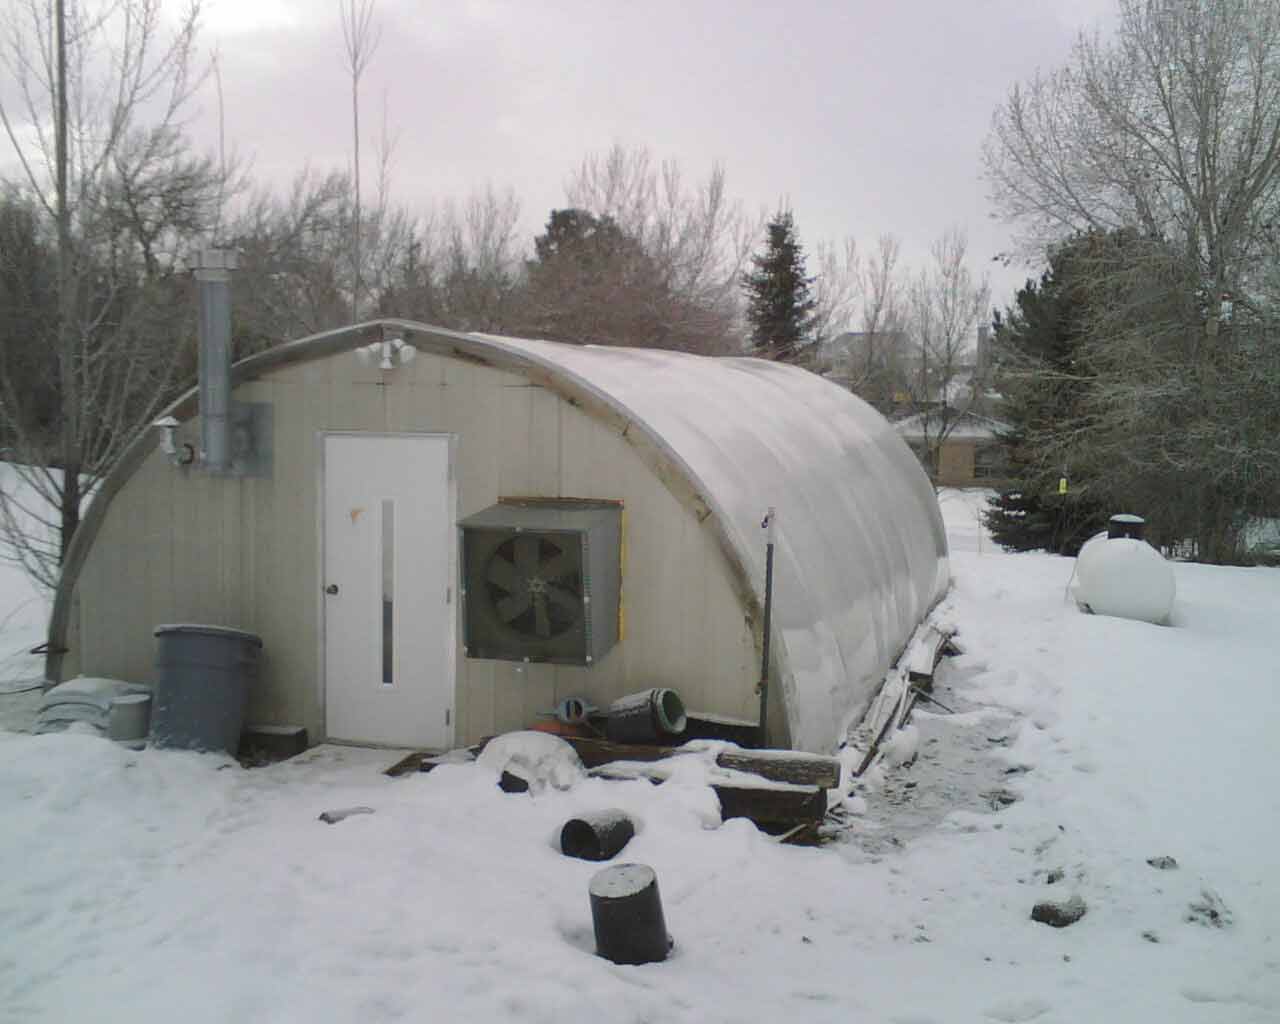
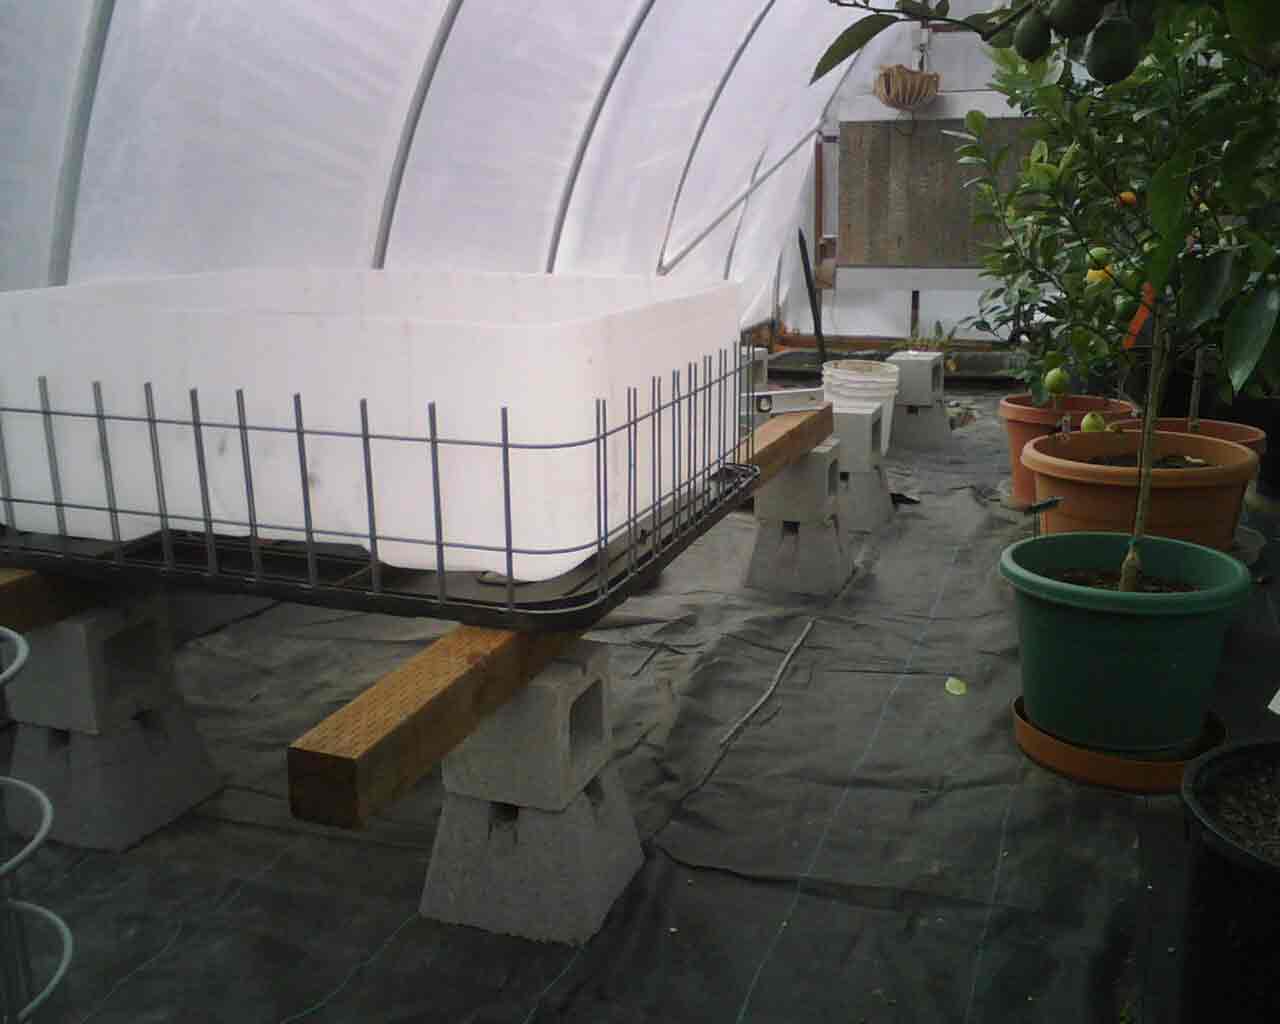
18' x 32' double poly greenhouse - - - - - - - - - - - - - Grow Bed Tank on supports
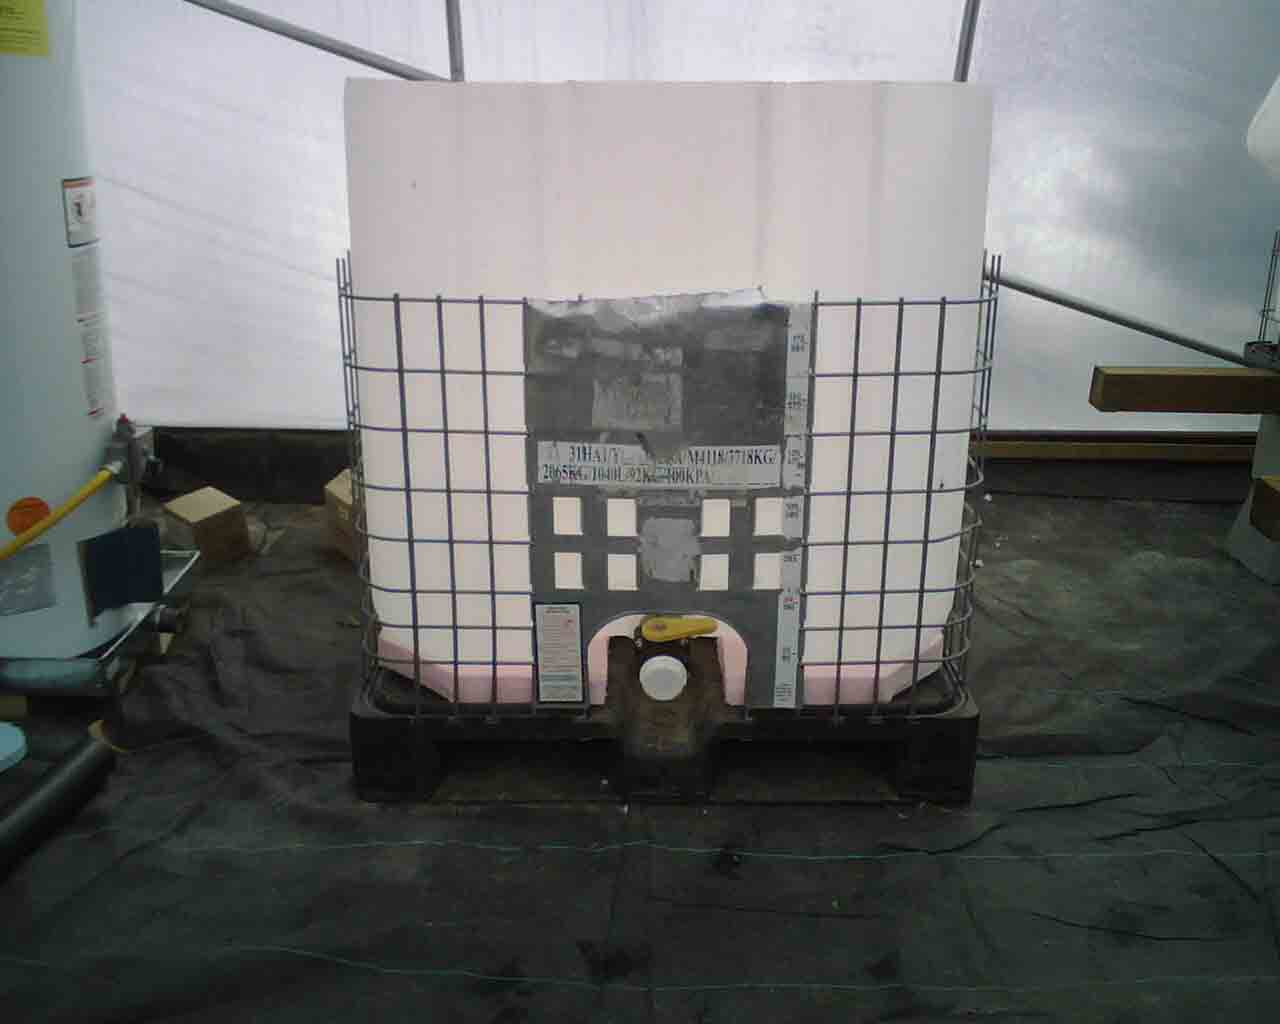
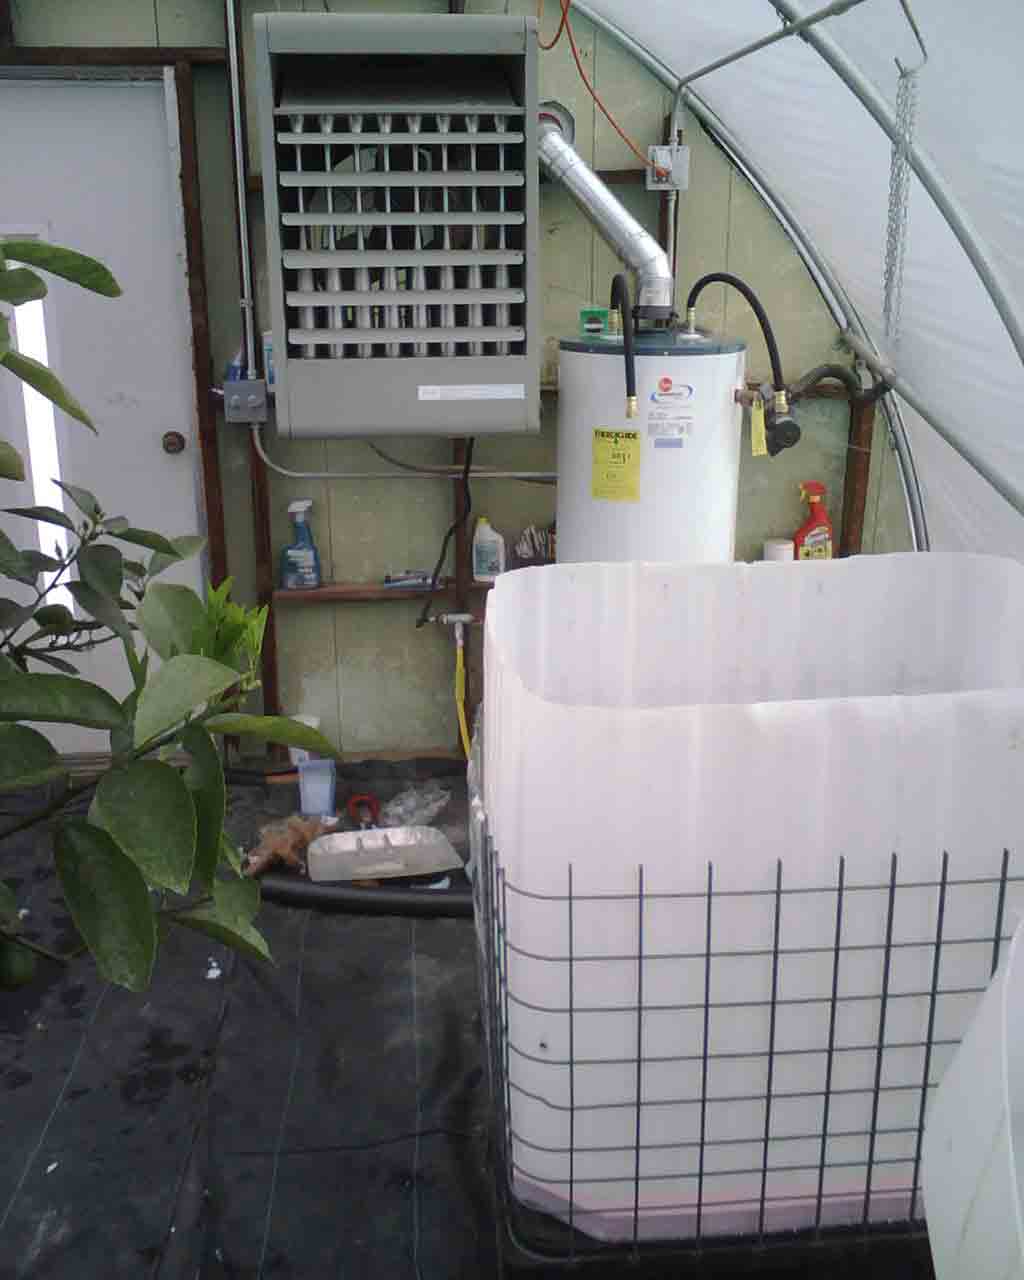
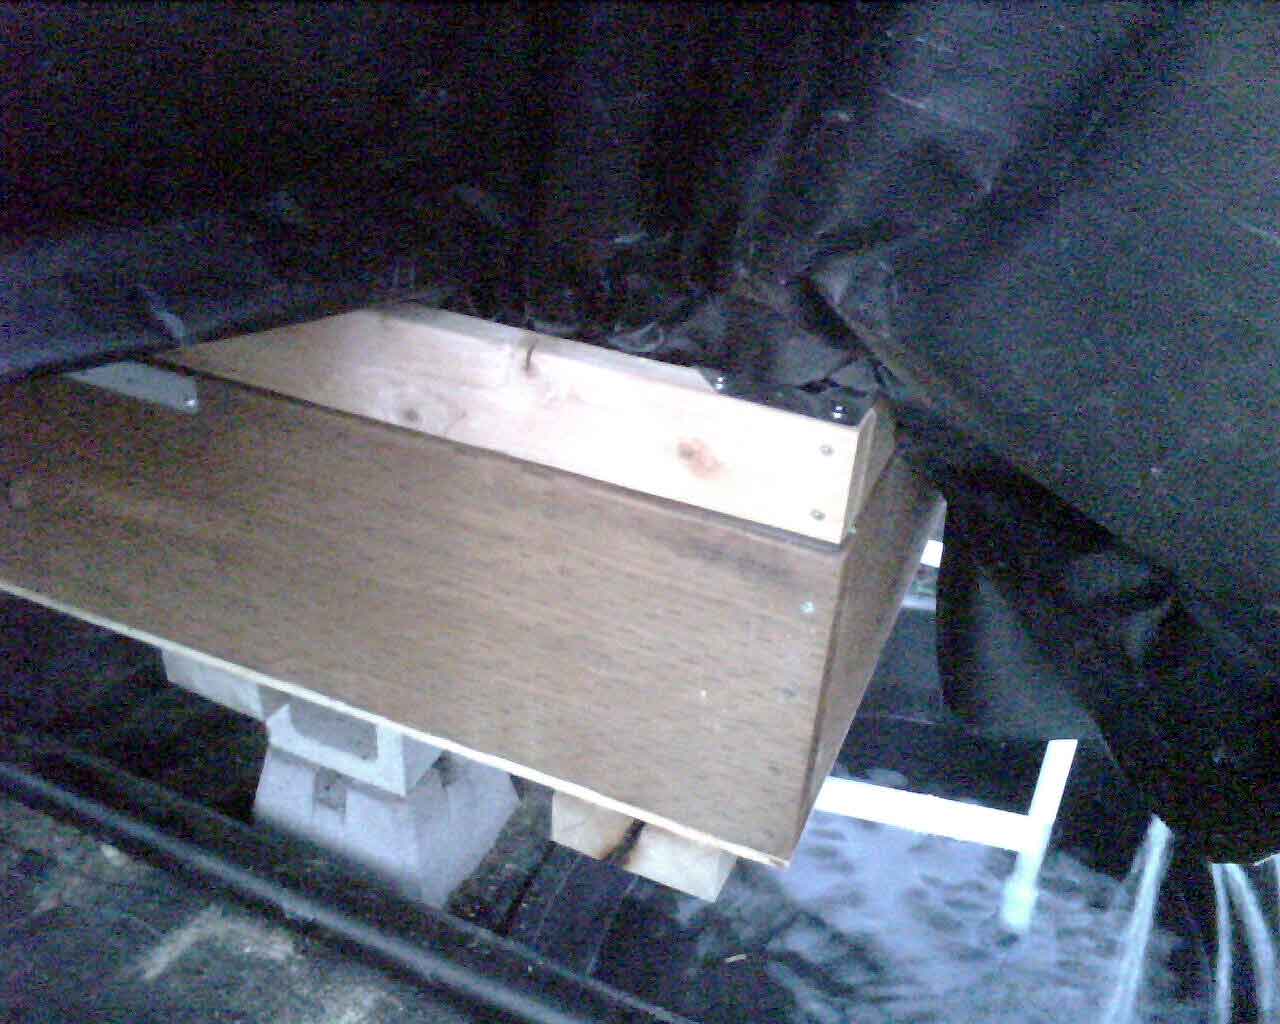
275 Gallon IBC Tote, top cut off for the fish tank - - - Propane Water Heater to heat water

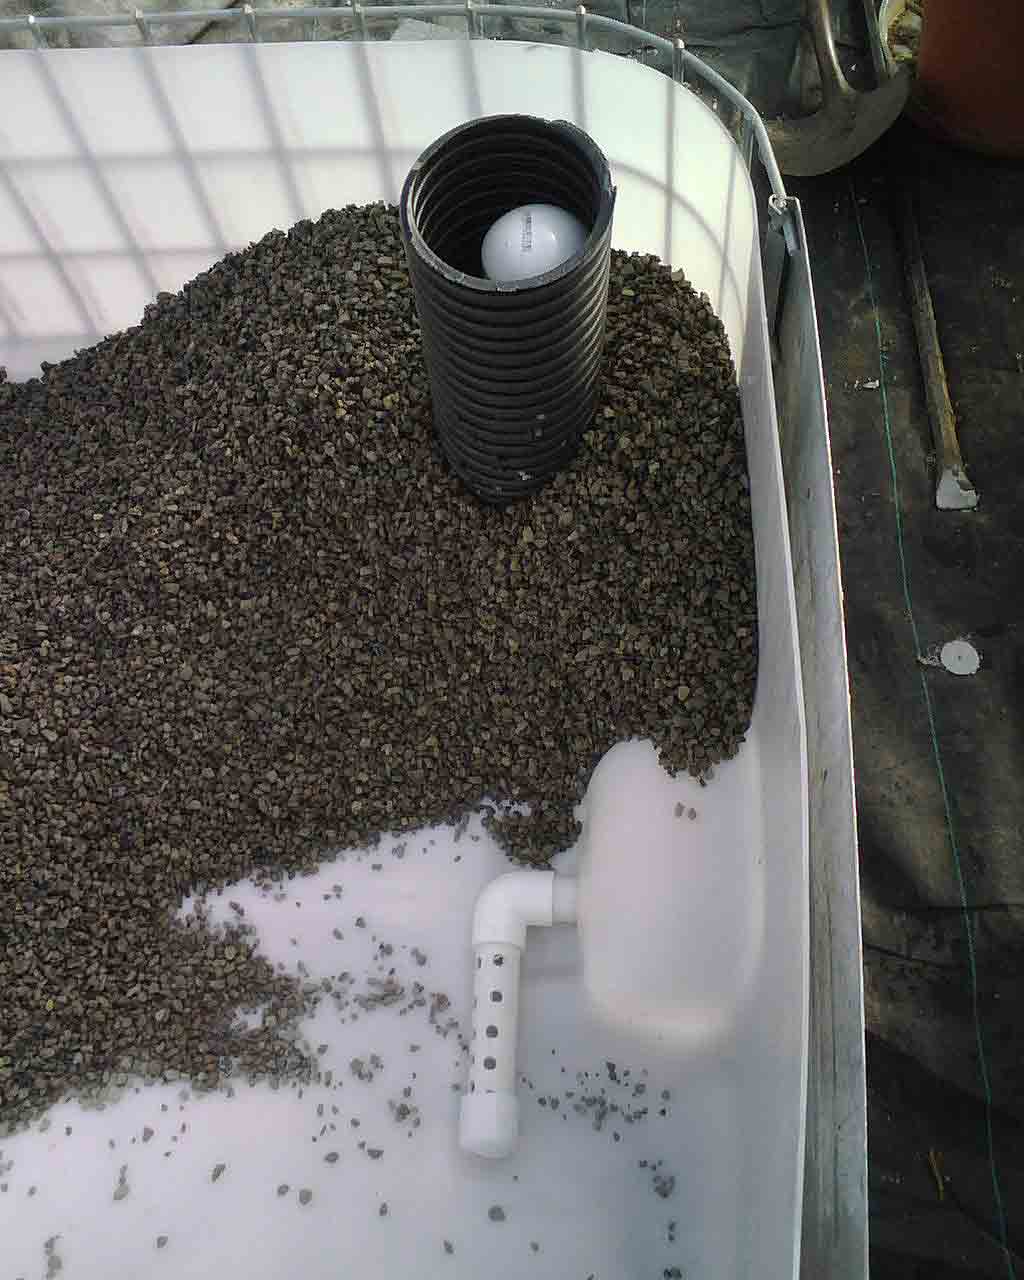
Utelite Expanded Shale for the Gravel - - - - - - - - - - Bell Siphon installed

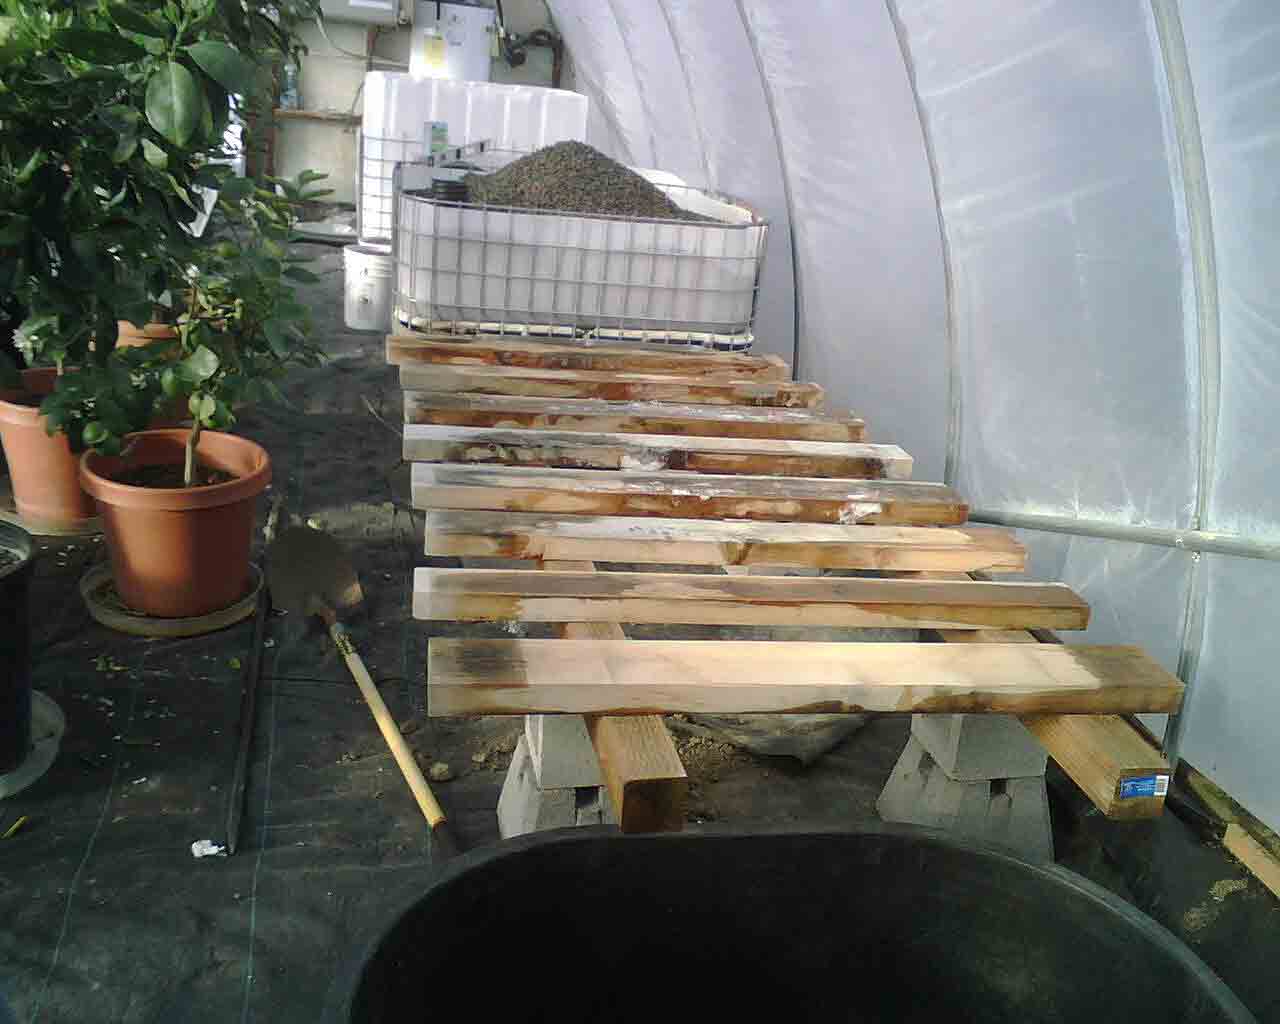
Beds filled (leveled first) - - - - - - - - - - - - - - - - - Base for Floating Raft System- dump tank below
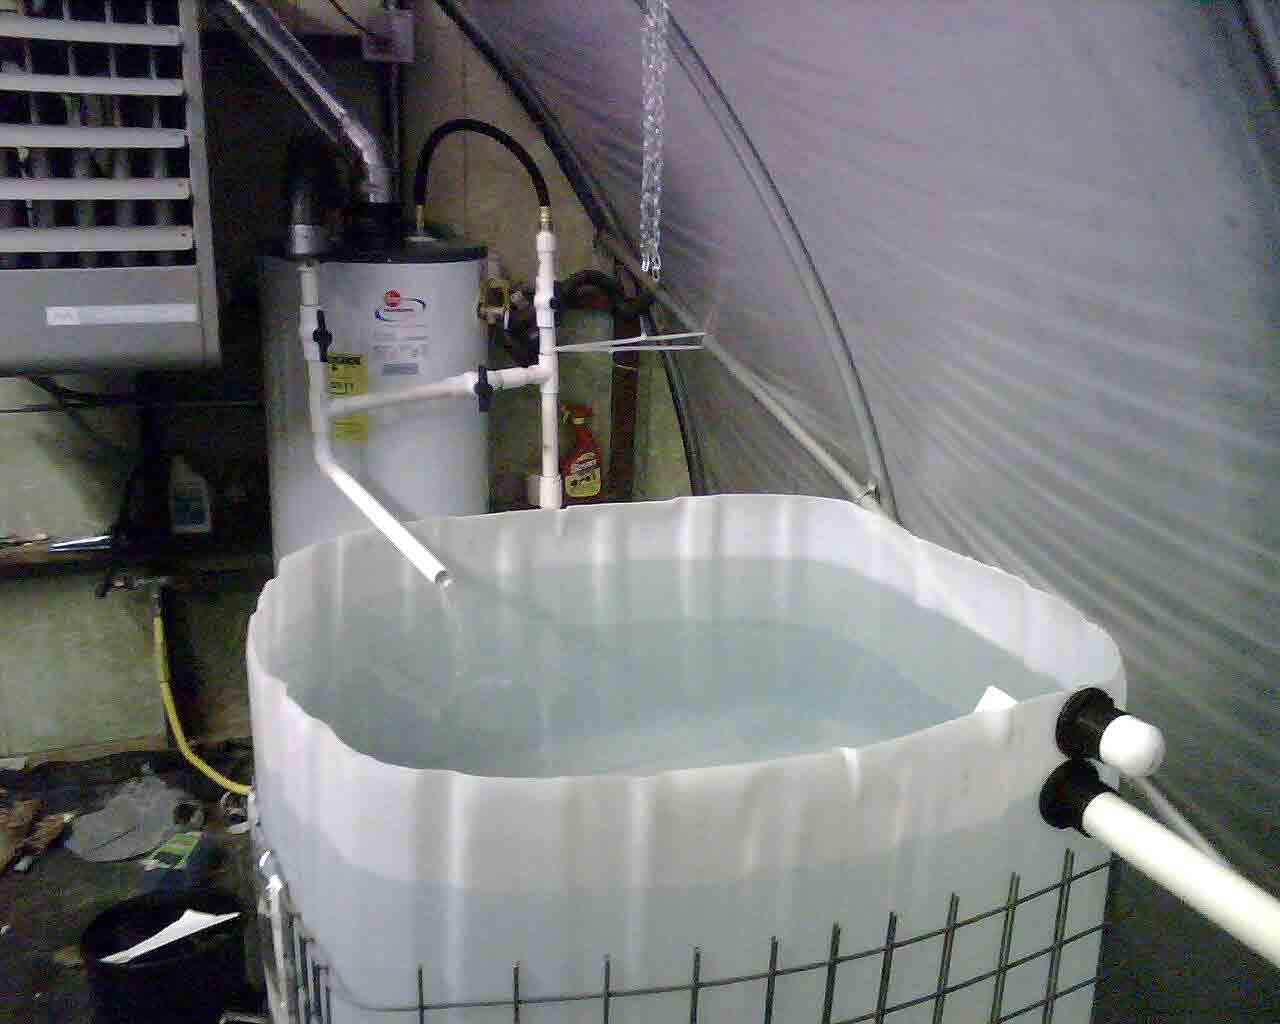

Fish Tank - New and Full of Water - - - - - - - - - - Gravel grow beds, water flowing in
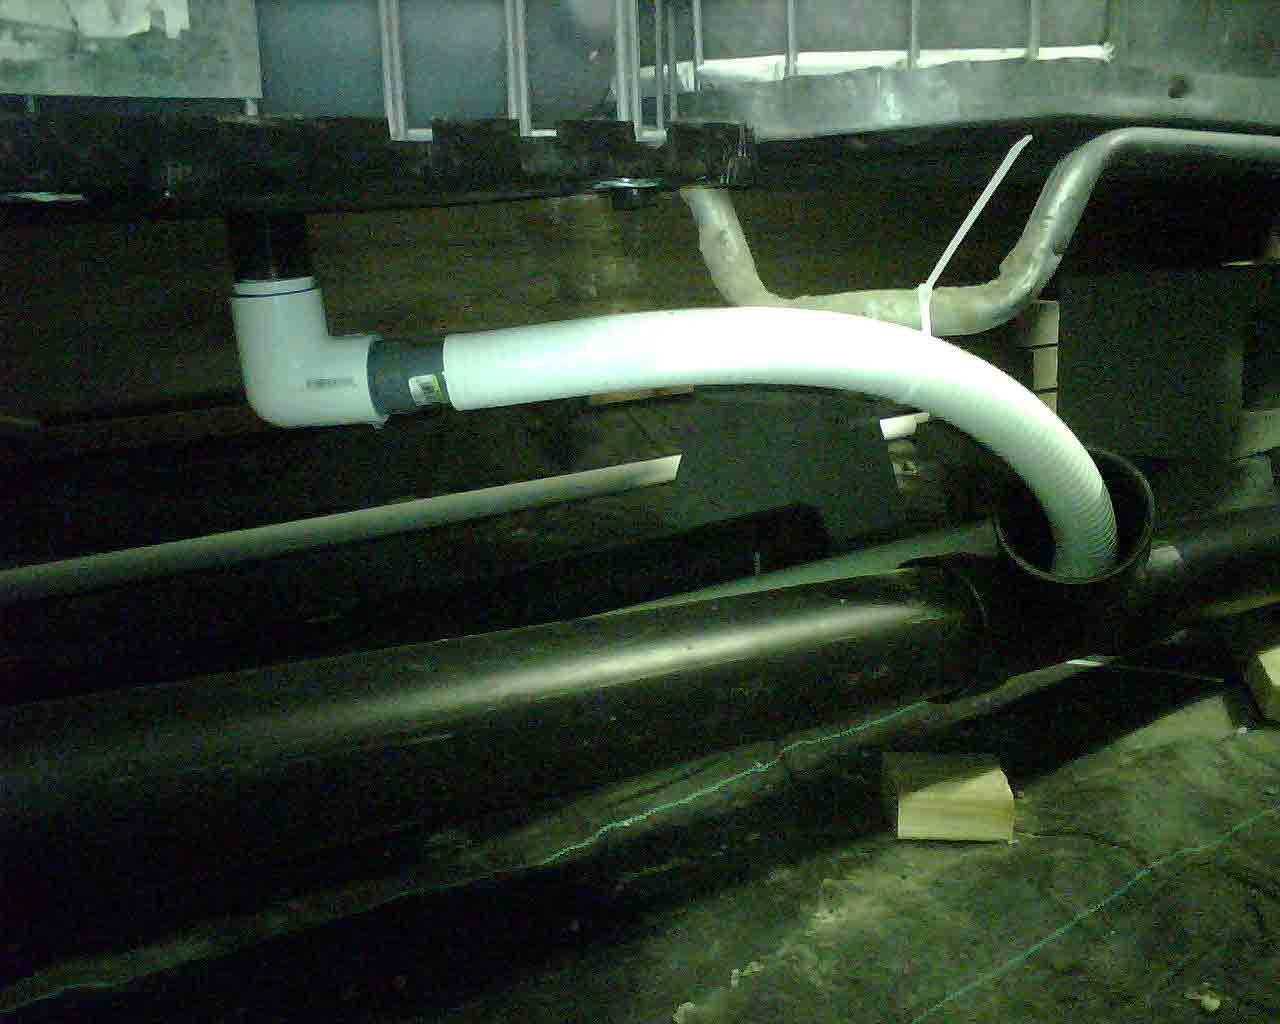
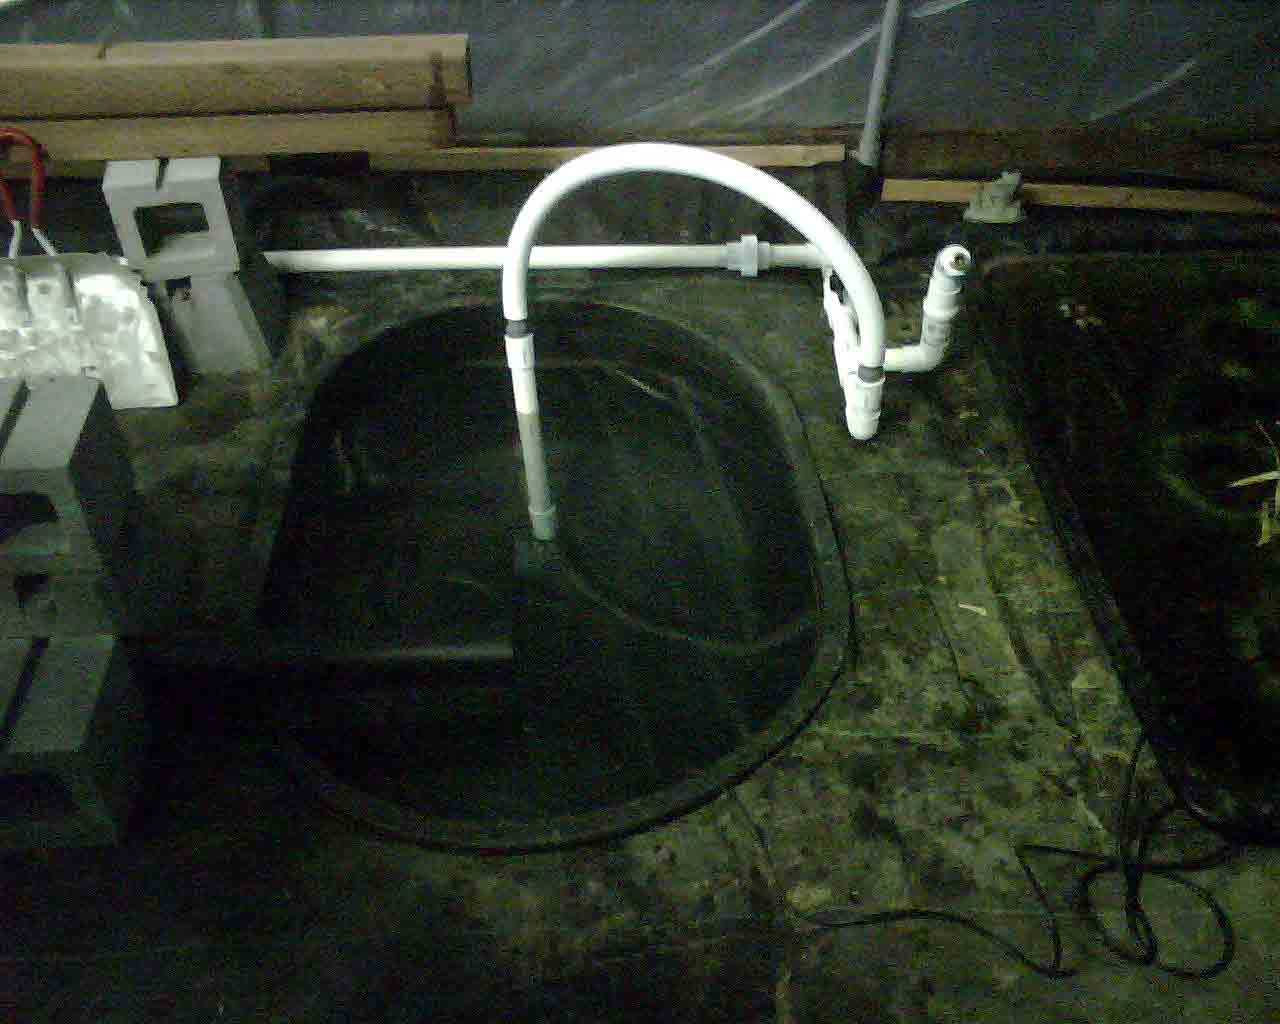
Bell Siphon drain tube - - which flows down and - - empties into the sump tank
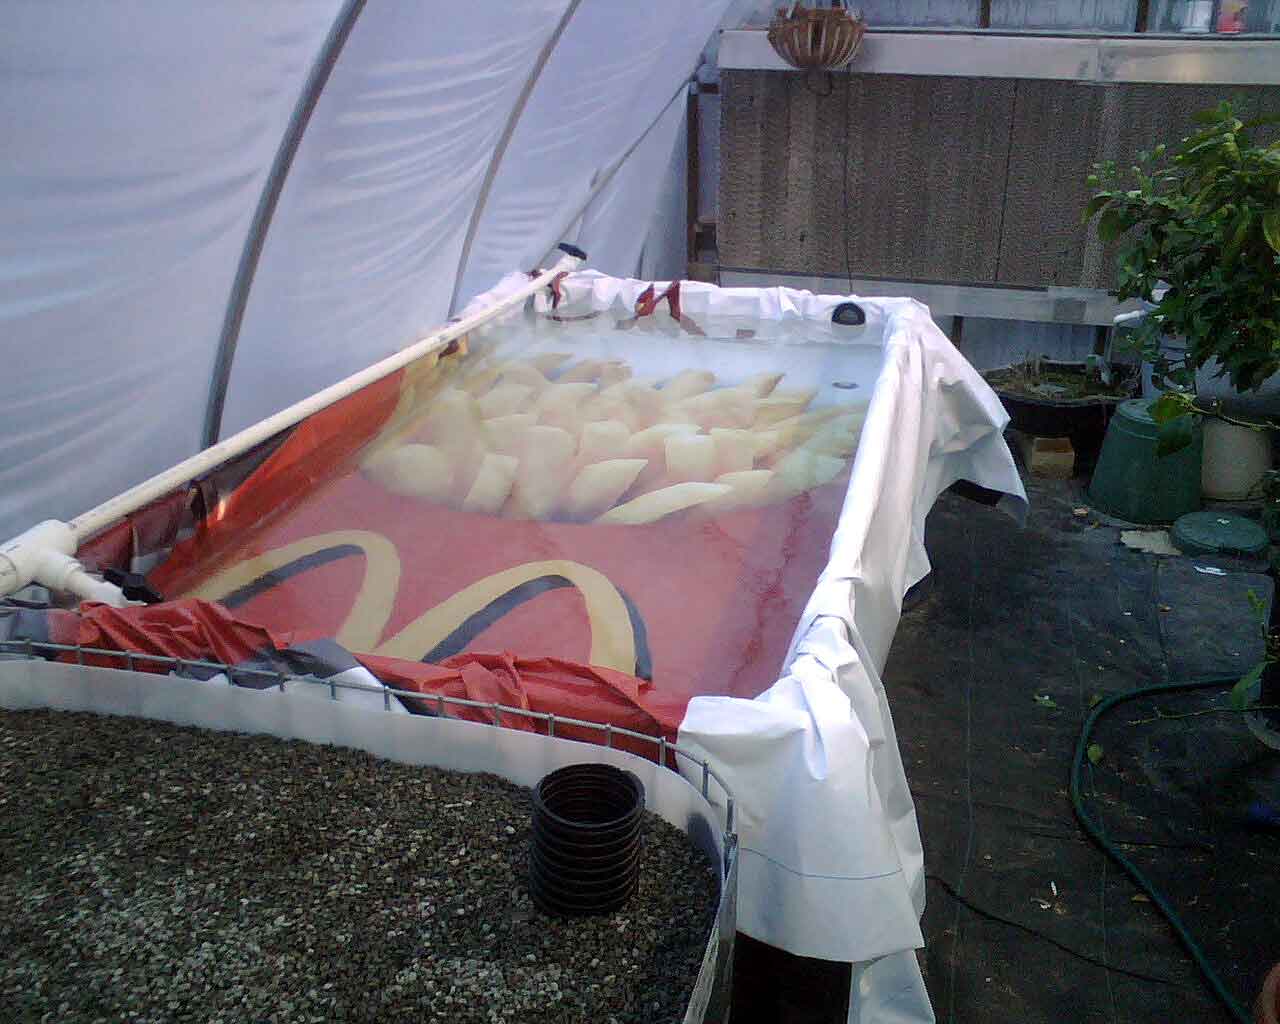
Floating Raft Construction Detail - covered with used vinyl sign material (hmmm, I wonder where that came from!).

March 14 - Just 2 Weeks after planting seeds - - - May 1st 8 Weeks after planting

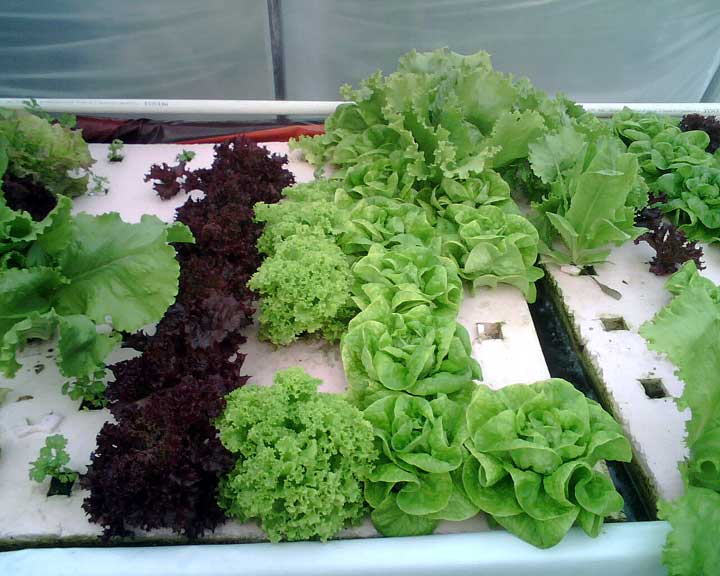
Lettuce 4 weeks old from seed (except large plants) - Lettuce 8 weeks old - salad time!
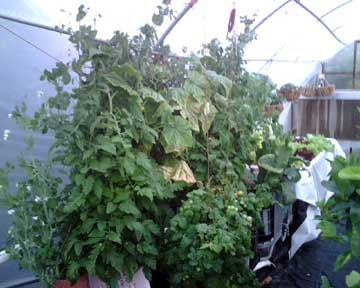
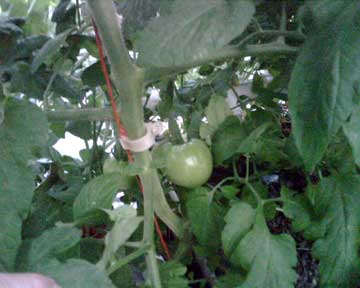
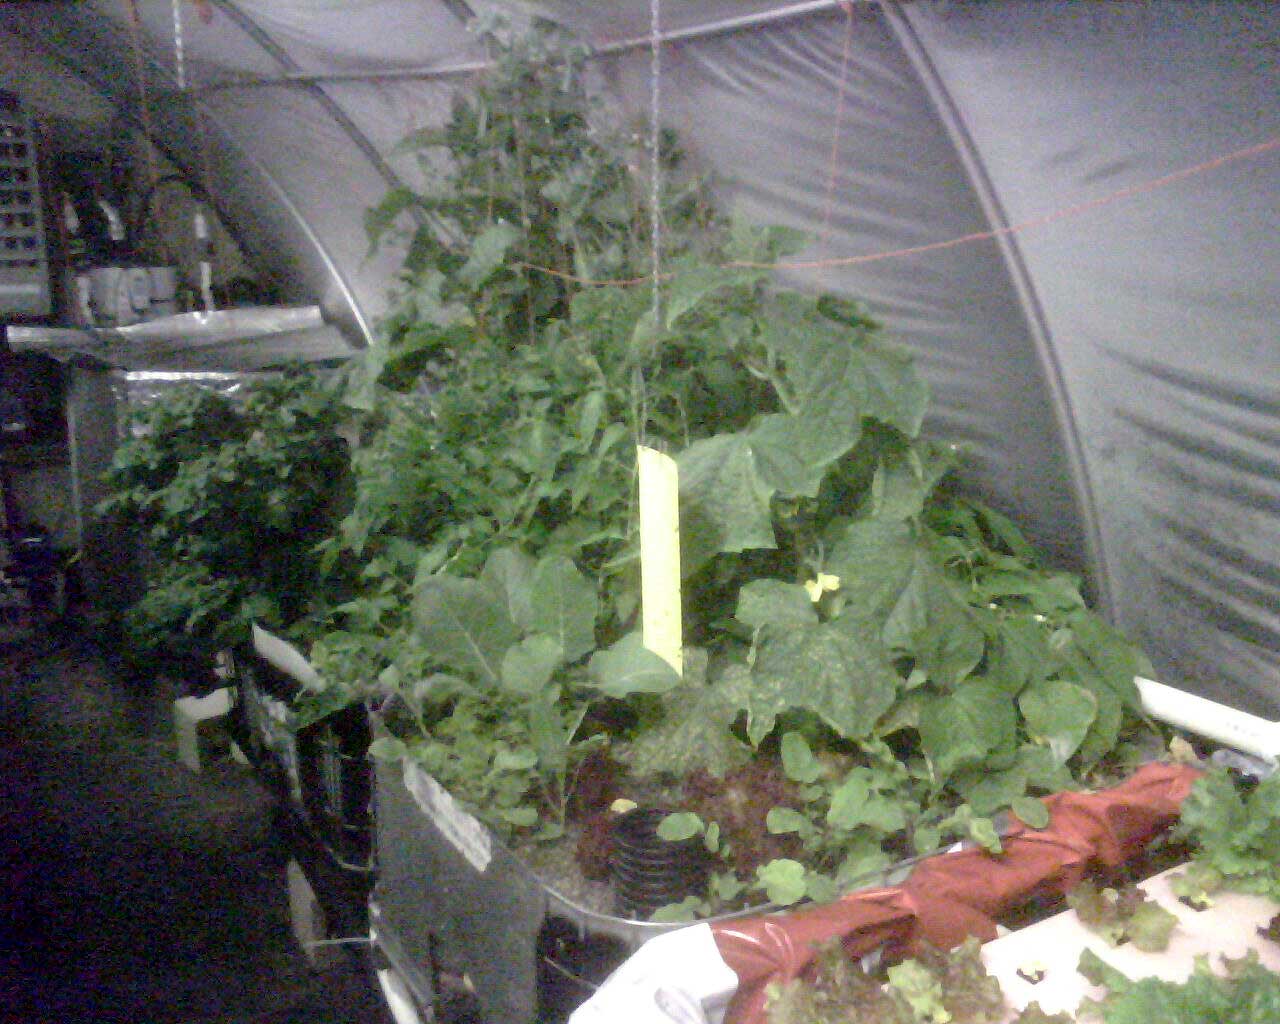
May 19 - 10 weeks after planting - - - - - - - - - - - - - - Betterboy Tomato - 10 weeks
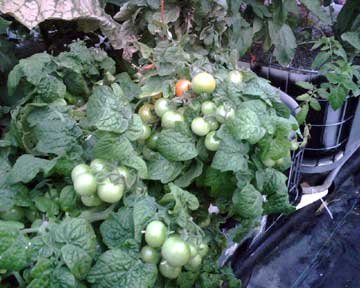
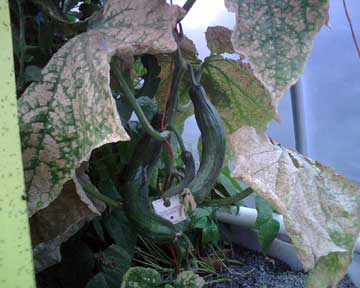
Cherry Tomato's - more tomatoes than leaves - - - Greenhouse Cucumbers, ready to harvest
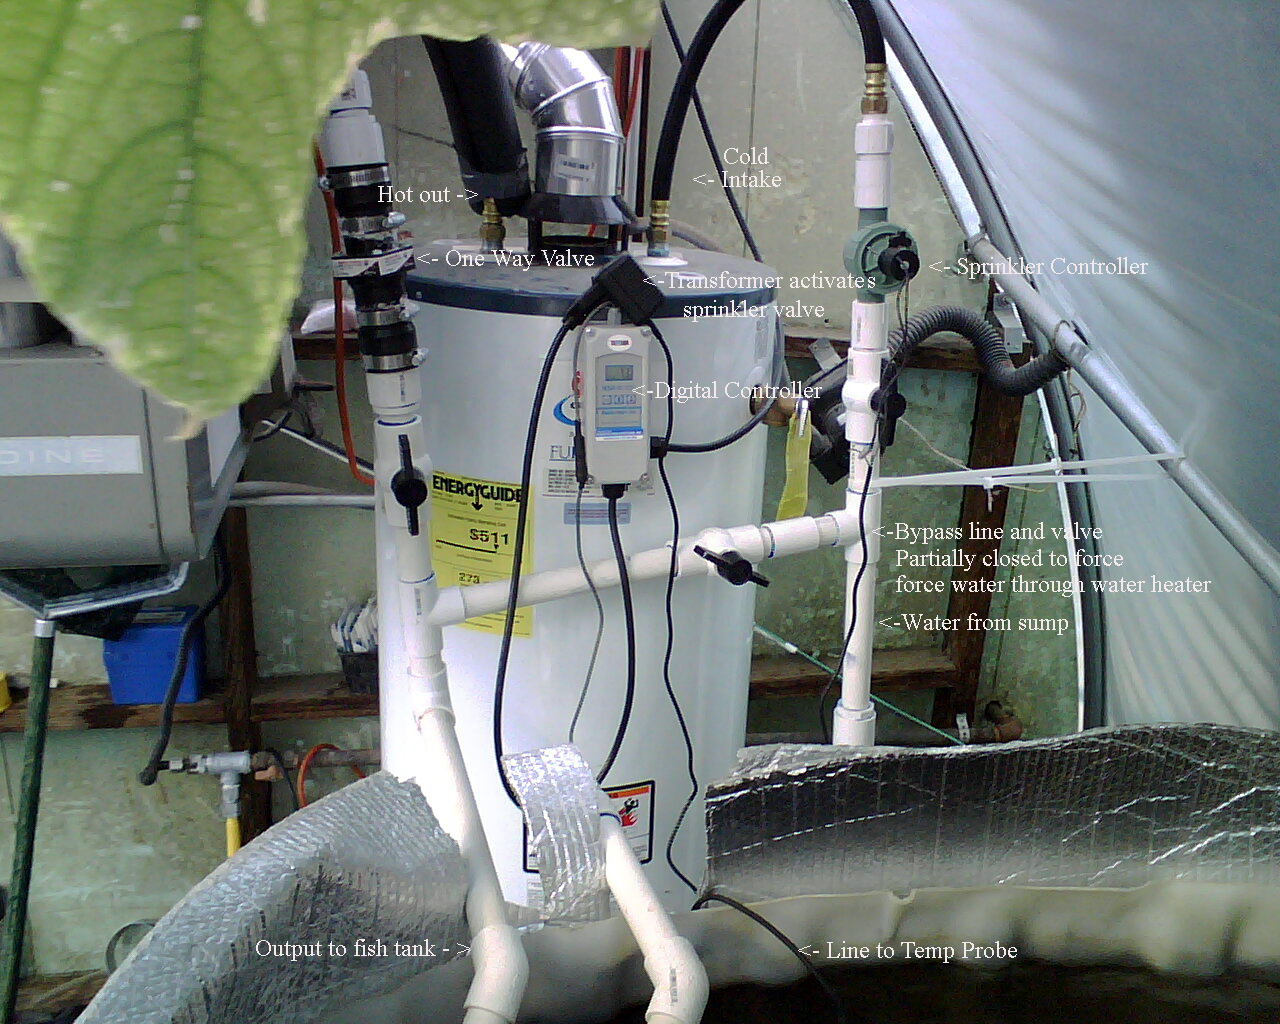
Water heater details, click on picture for large view. Details on the components are in the aquaponicshq forum linked below.
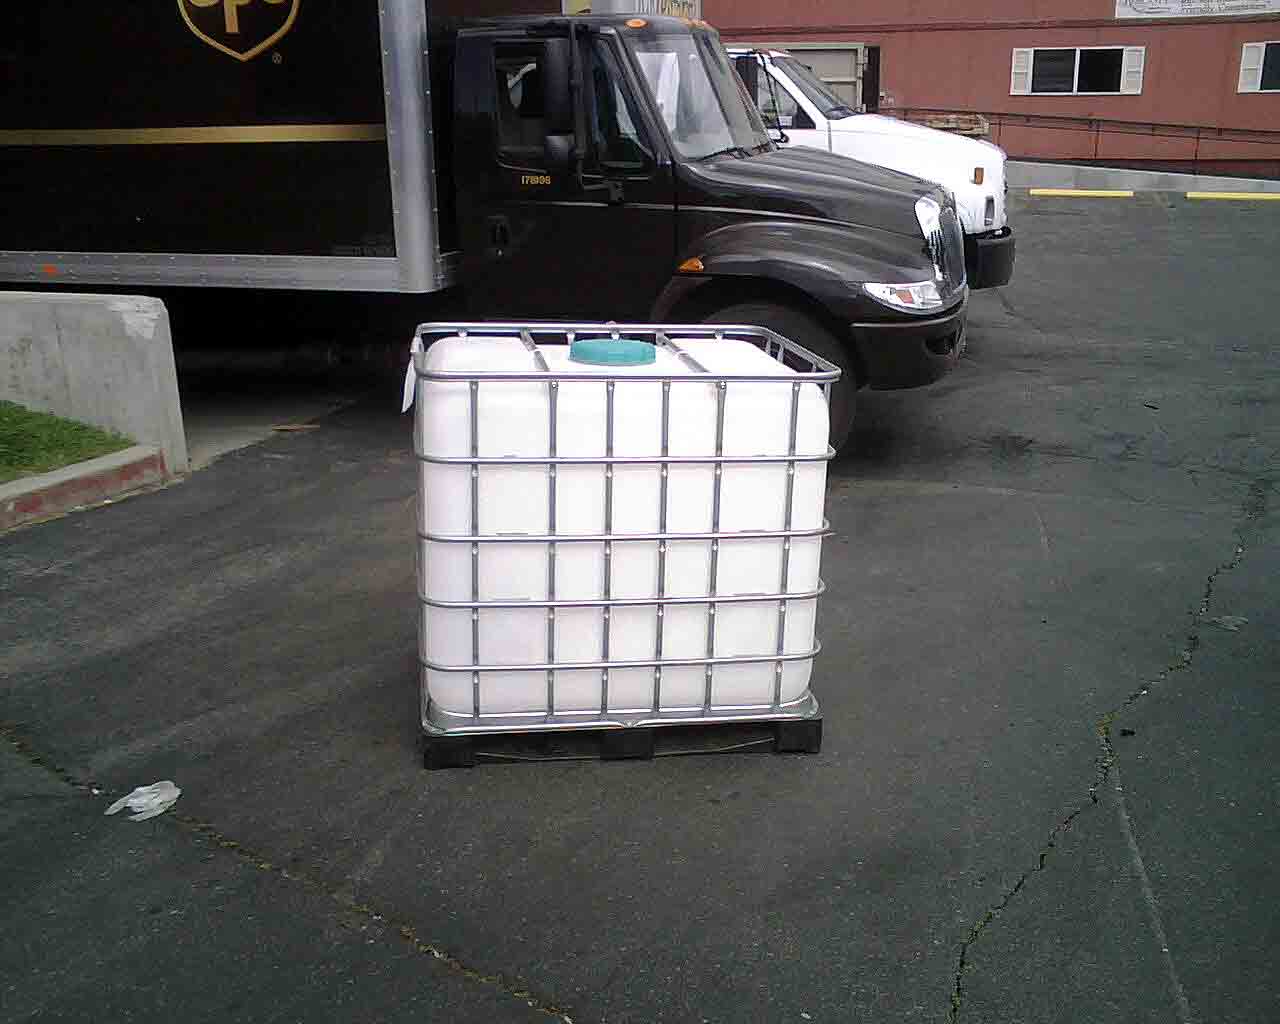
Got a phone call the other day and picked up a third tank for free!
Aquaponics Floating Raft Upgrade
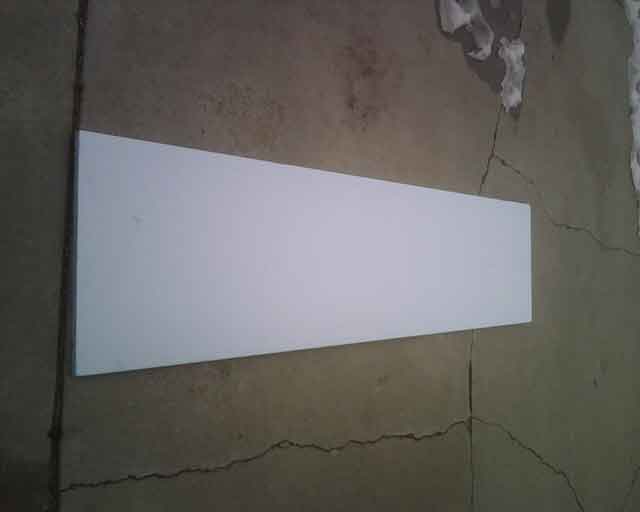
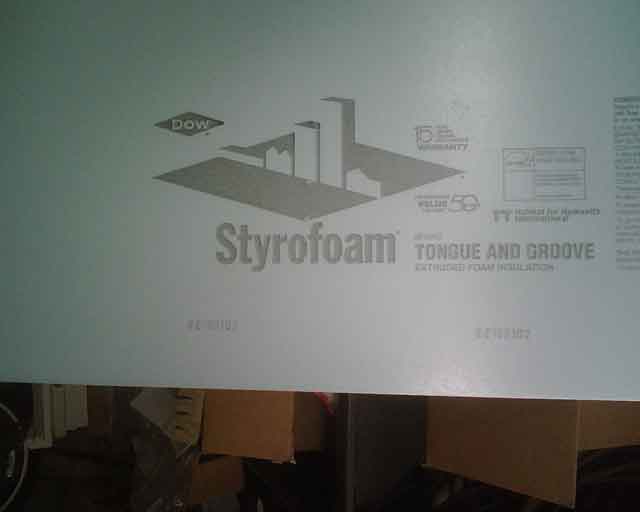
After seeing the system at Nelson and Pade in Wisconsin, I resolved to upgrade my system. I found these 2 x 8 feet x 1" building foam on sale and picked up a couple of lengths. Any type will do, pink or blue 4 x 8 or smaller. This was what was on sale.
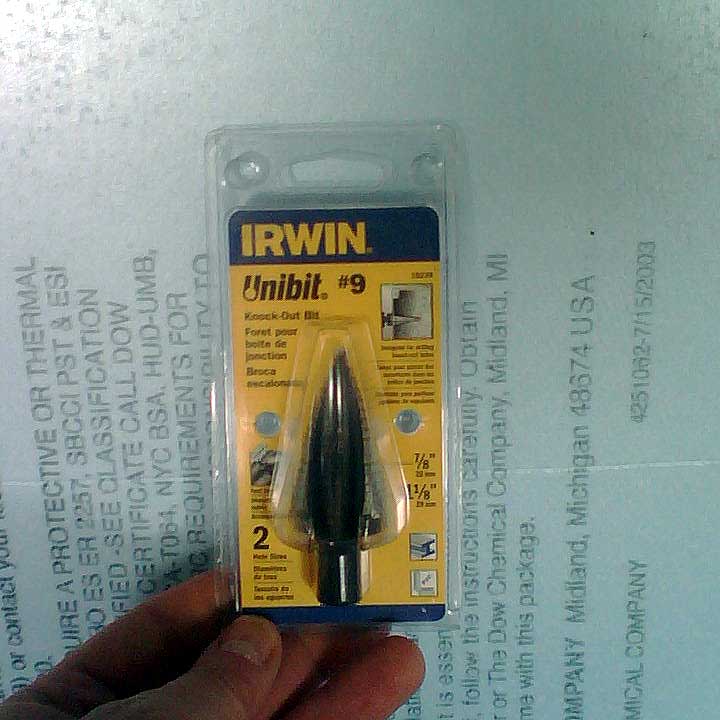
They use a tapered bit to drill the hole. This bit is a 1 1/8" and it makes a nice large opening at the top for the plant, but narrow at the bottom for the roots. Best of all, I don't have to shim the plant cubes to get them to stay in the hole. Previously I used 2" foam and cut square holes with a knife. The holes are uneven sizes, sometimes the cubes fall through. Using the tapered bit is nice and simple.
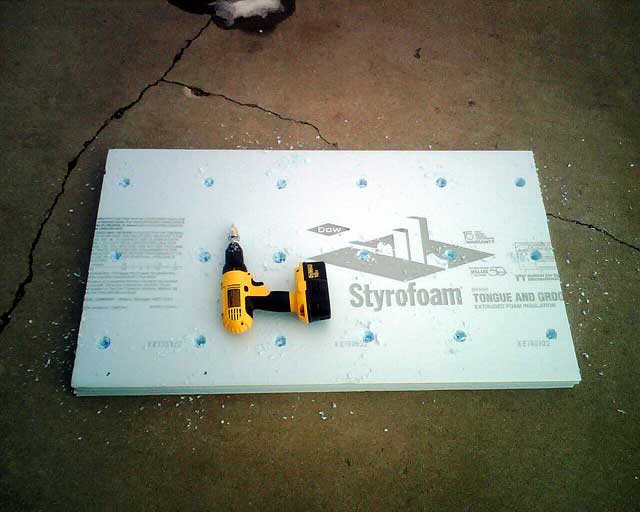
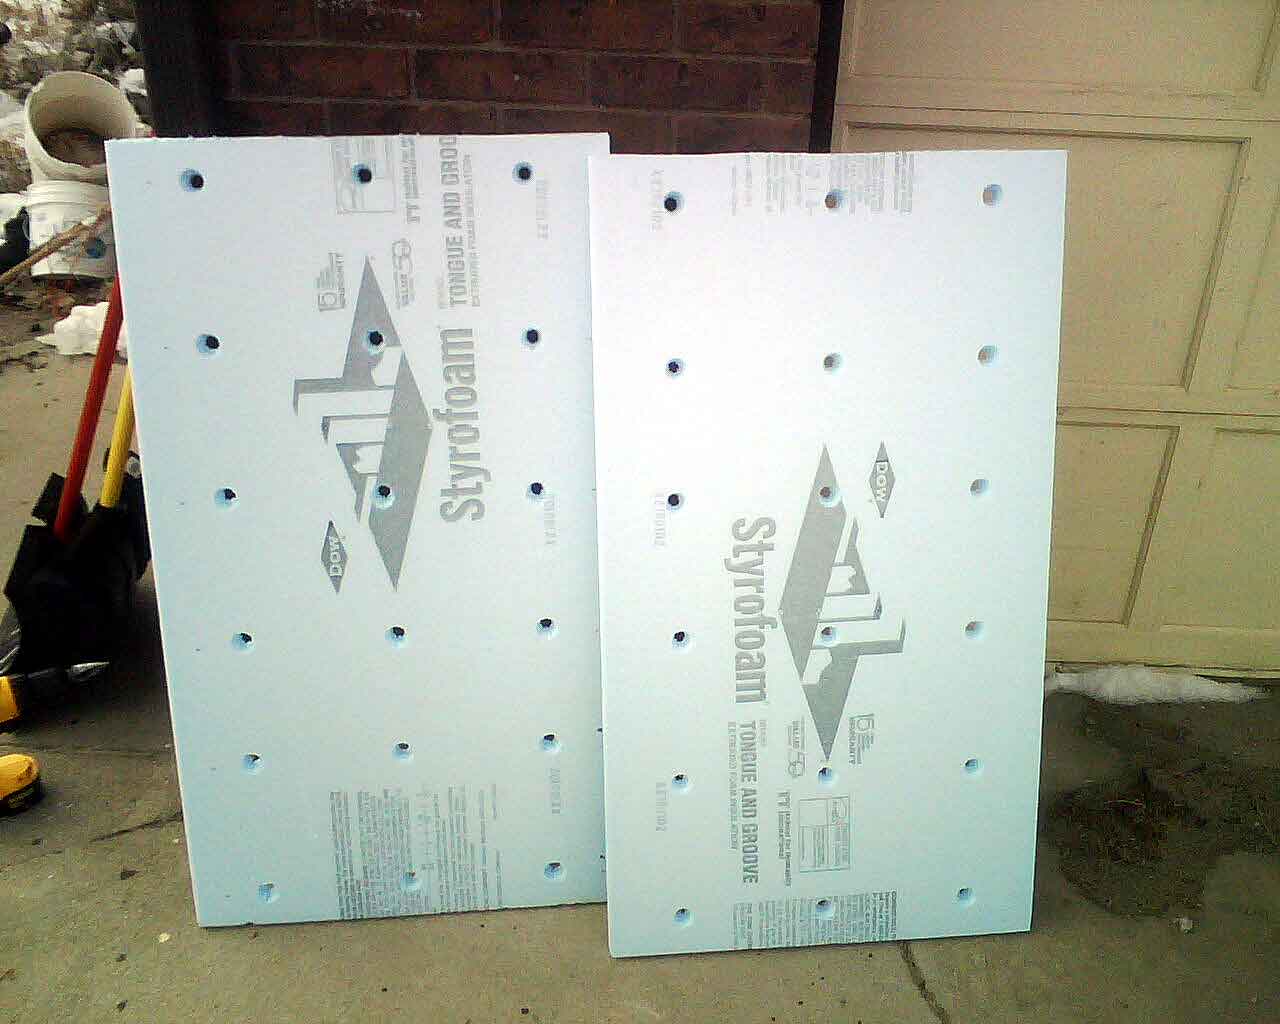
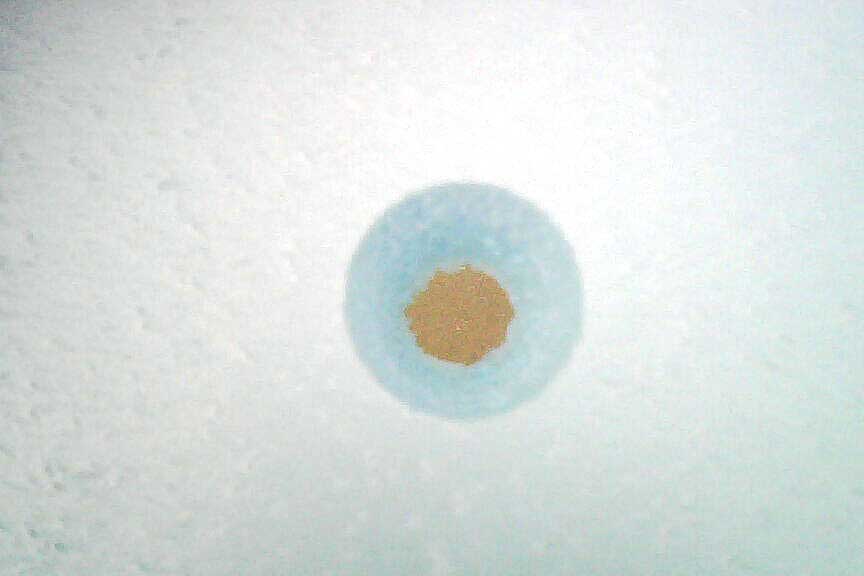
First I cut the sheet to fit tightly into the raft tank. Any gap around the edges and the light gets in and promotes algae and moss growth. Then I marked out the hole spacing. 8" on center. My old system was 6" on center and it was to close. Eight inch spacing is what was recommended at the seminar. Then I rough drilled the holes to about 3/4 depth. The I finish drilled more carefully, running the drill on it's highest speed, allowing it to "polish" or slightly "melt" the edges to give the smooth finish you saw in the previous pictures.
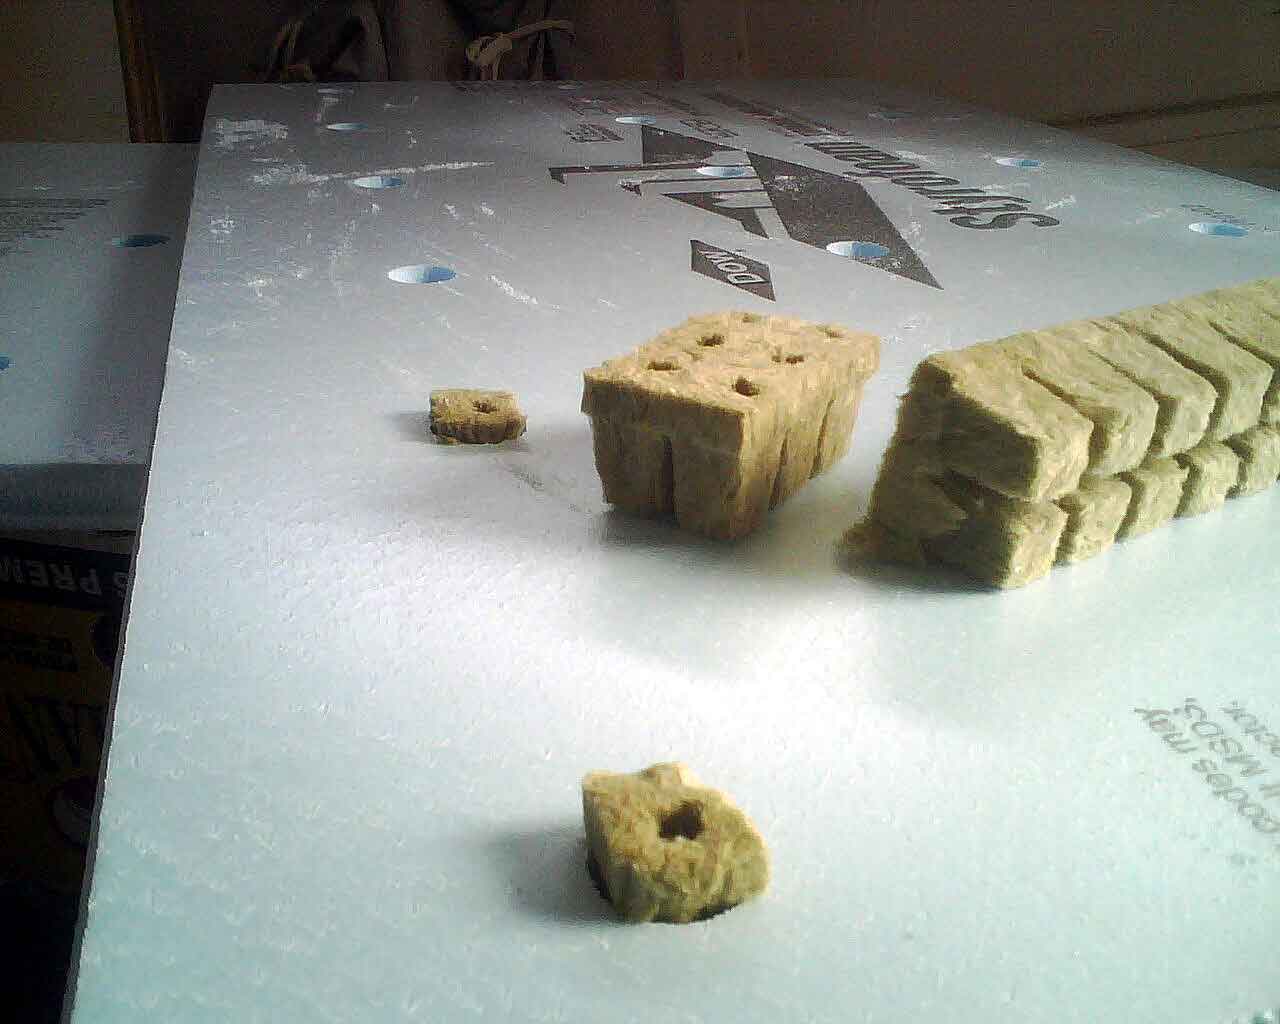
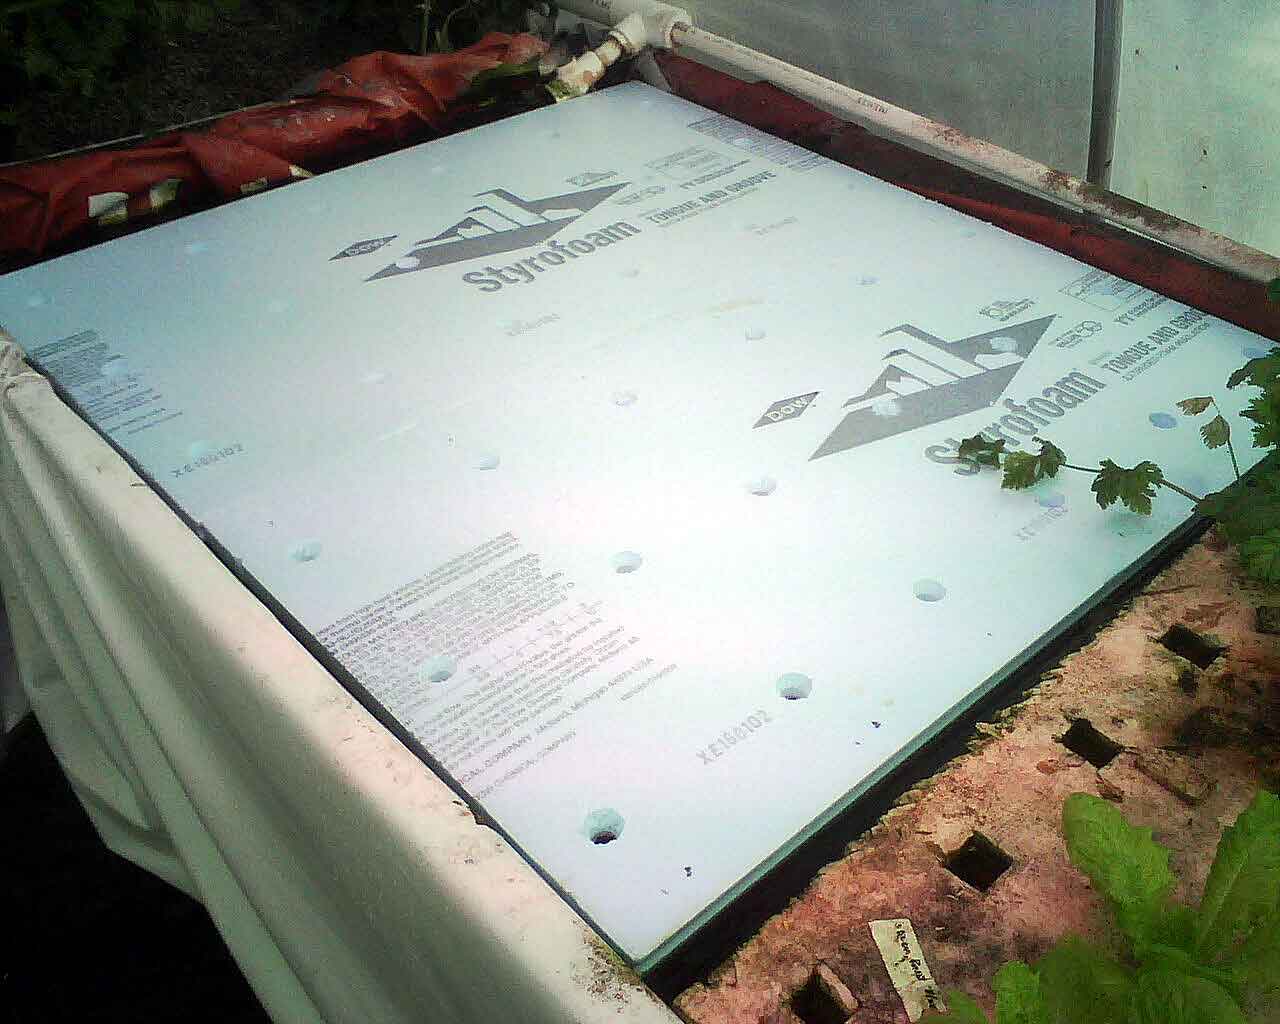
I'm also switching to these rock wool cubes, rather than the horticubes. Notice how these taper to a point. The horticubes are the opposite, with big bases and narrow tops, making them difficult to keep in the holes. These cubes are tapered to fit in the tapered holes, as can be seen by the two I have inserted. Then finally, 2 new sheets installed in the raft system, along side an old sheet. I'll replace the old sheet as soon as the plants on it mature.
Back To Utah Aquaponics System Home Page
Detailed aquaponic system design information and plant and fish selection decisions can be found in our thread at AquaponicsHQ here: http://aquaponicsnation.com/forums/topic/802-utah-system-part-1-beginnings/